Plain HDHMR Boards: Specs, Thickness & Uses
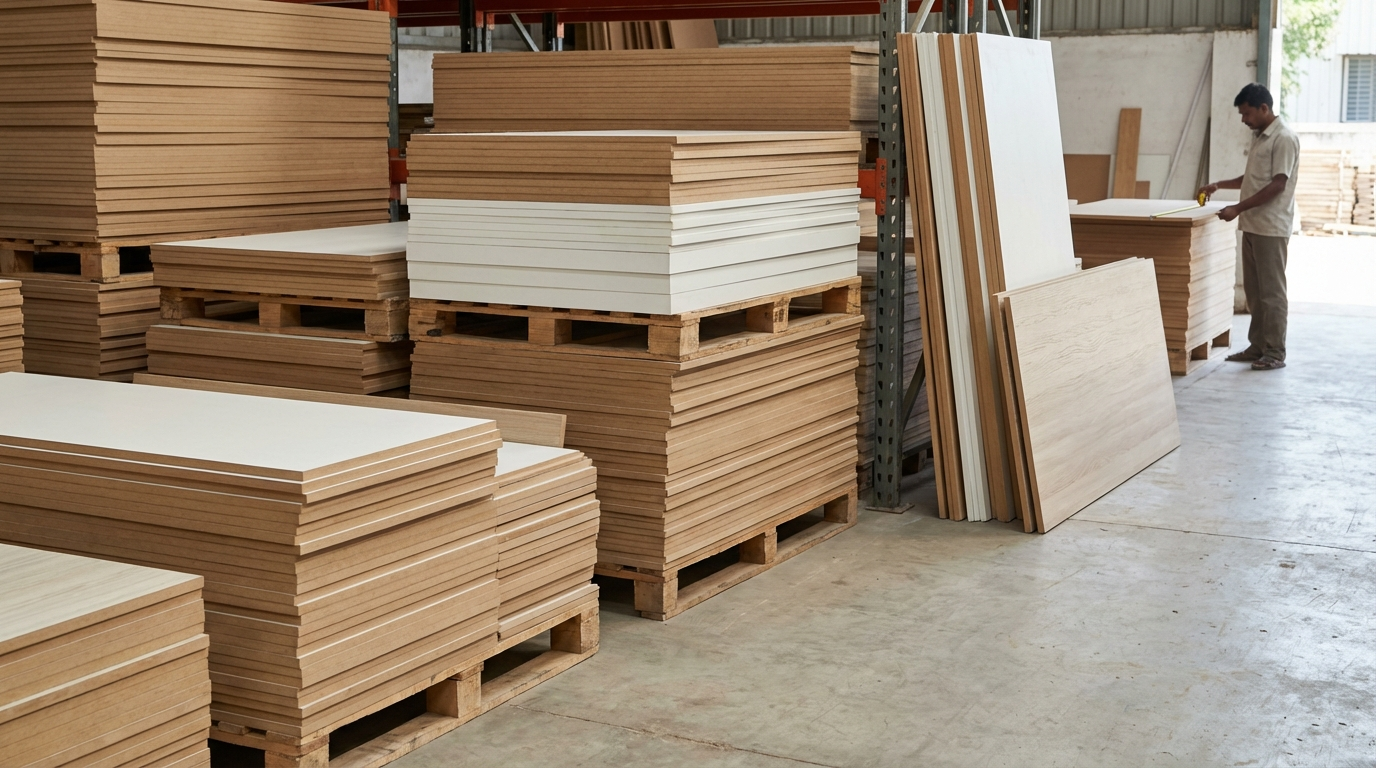
You may have heard the term “plain HDHMR board” and wondered what it means. In this section, we clarify that and provide a guide on plain (raw) HDHMR boards – their specifications, available thickness options, best applications, and a quick checklist on how to buy the right ones. If you’re planning to purchase HDHMR for a project and will be applying your own finishes (like laminates or paint), you’re essentially looking for plain HDHMR boards.
What Does “Plain” HDHMR Mean?
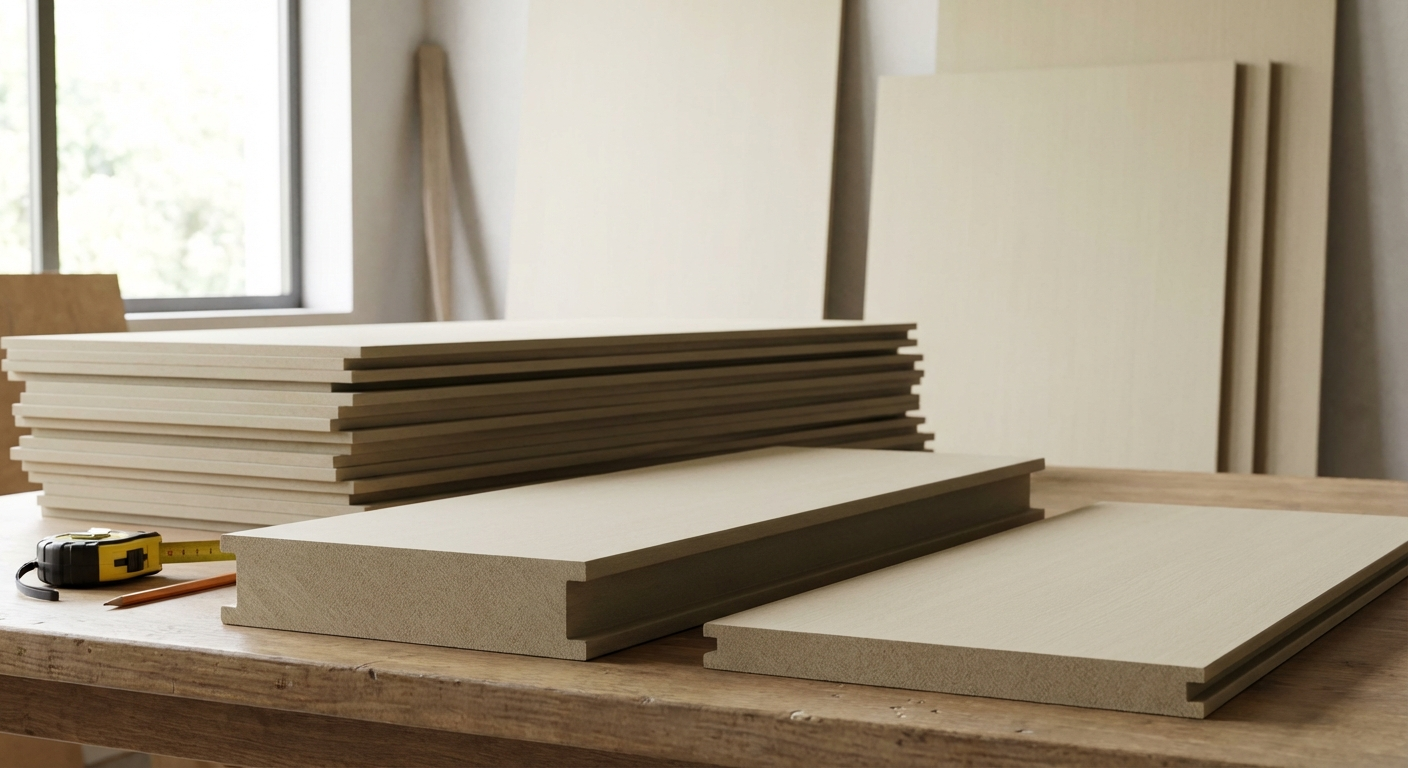
“Plain” HDHMR board refers to the unfinished, raw HDHMR sheet without any decorative surface pre-applied. It’s the board in its basic form – typically a uniform colored panel (often a grayish or greenish brown in the case of some brands, the color may vary slightly depending on the resin and any dye added to distinguish grade). This is in contrast to pre-laminated HDHMR, where the factory has already pressed a laminate sheet or veneer on its surface.
· Plain = Raw = Unlaminated. It means you (or your carpenter) will add the final finish yourself, be it laminates (sunmica sheets), veneers, paint, or polish.
· Most HDHMR sold in lumber yards is plain by default, unless you specifically ask for prelam. So when someone says “HDHMR board” they usually imply plain unless noted.
Why choose plain? It offers flexibility. You can choose any surface finish separately. It’s also often easier to edge-band and process plain boards first, then finish them.
Specifications of Plain HDHMR Boards:
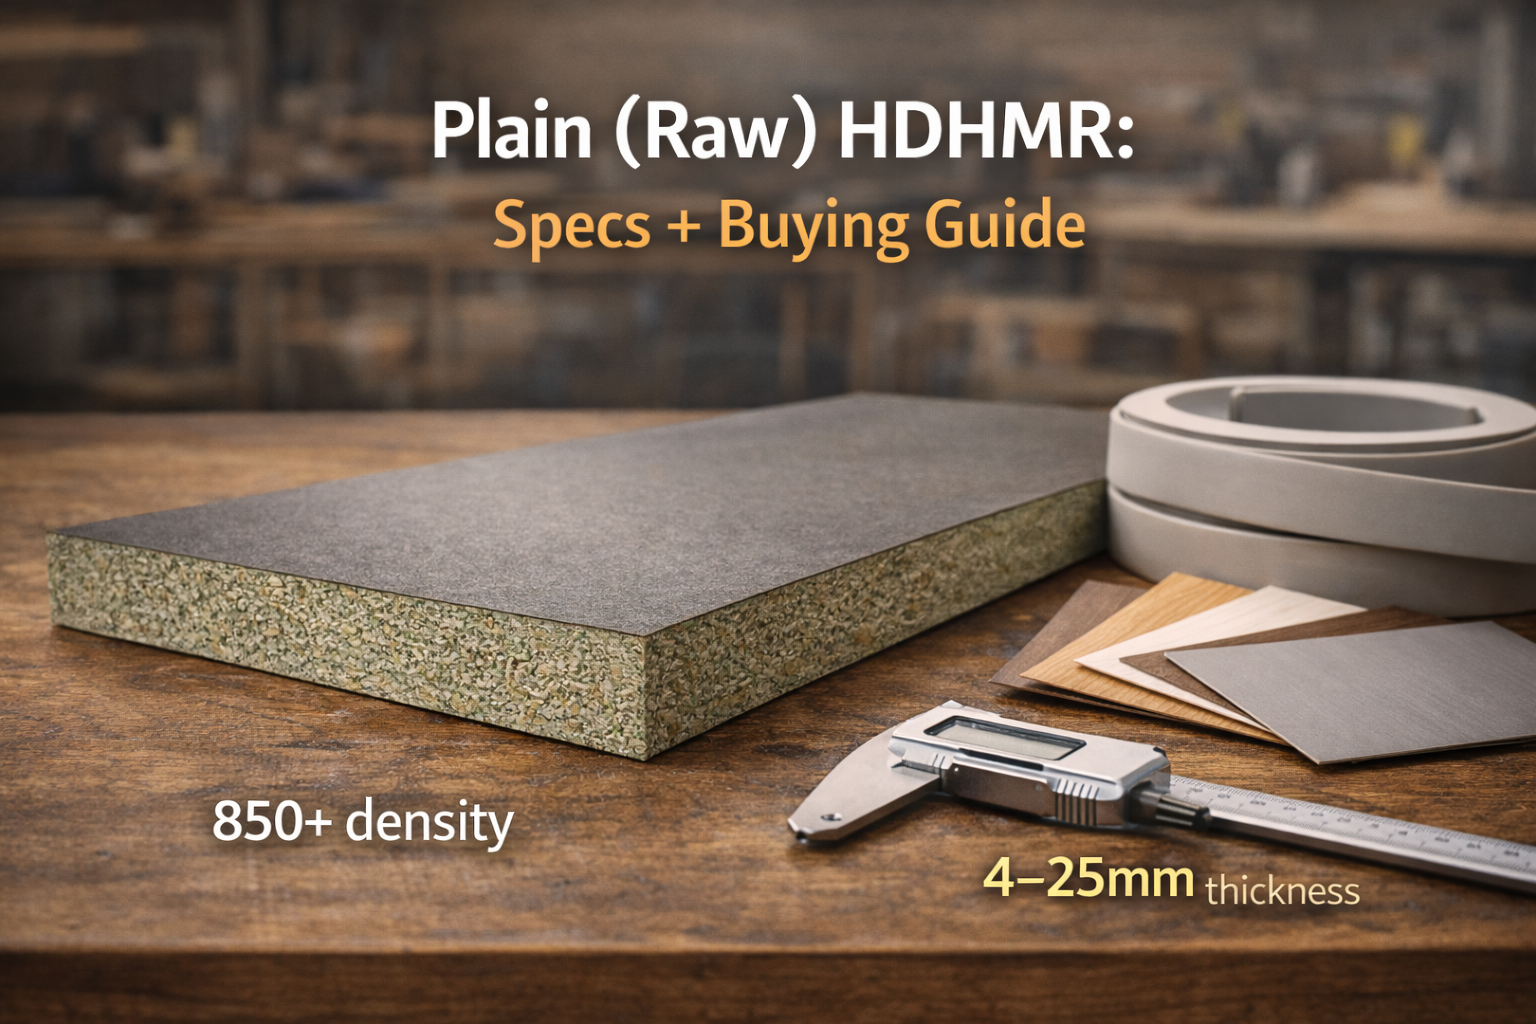
Plain HDHMR boards have the same core properties as described before (like in Action Tesa specs). Let’s recap the general spec highlights in a concise way: - Composition: High-density fiberboard made from wood fibers + special resins for moisture resistance. - Density: Typically 750–880 kg/m³ (brand-dependent). The high density is what gives it strength and water resistance. - Moisture Resistance: Made with water-resistant adhesive. Often the spec might say something like <5-8% swell in 24h water immersion (where normal MDF might swell 30%+ in such a test, HDHMR swells much less). So practically, very moisture tolerant for indoor use. - Termite Resistance: Yes, generally additives included (especially branded ones). - Machinability: Can be cut, drilled, routed with woodworking tools. Edge can be routed to simple profiles (though being fiberboard, very intricate tiny details might not hold as sharp as in solid wood, but it’s pretty good). - Surface: Smooth, no knots or grain. Usually comes sanded from factory (some boards are “calibrated” meaning precise thickness and smoothness).
A typical spec sheet line might show: - Modulus of Rupture, Internal Bond, Screw Withdrawal force, Water absorption %, Thickness Swell %, etc. Without going into numbers, just know HDHMR excels in these compared to standard MDF. For instance, screw withdrawal might be say 2000 N (face) which is quite good, internal bond might be >0.8 N/mm2, etc. These numbers matter to engineers; for a buyer, the takeaway is it’s strong and water-resistant.
Thickness Options:
Plain HDHMR is available in multiple thicknesses (as mentioned: usually 6mm, 9mm, 12mm, 16/17mm, 18mm, 25mm are standard). To reiterate uses by thickness: - 6mm: Use for backs of cabinets, drawer bottoms, or as panels in door frames. Also handy for making lightweight divider panels or for panel inserts in grooves. It’s not structural – mostly for covering or very light-duty partitions. - 9mm (or 8mm): Slightly more rigid, good for larger backs, or perhaps shallow shelves for light items, or making small boxes, etc. Could also be used for wall paneling that you want a bit thicker than 6mm to avoid waviness. - 12mm: Use for smaller cabinets, inner partitions, door shutters for upper cabinets, etc. Also for things like wall-mounted units that you want lighter than using 18mm. If double layered, can be used for flush doors (two 6mm skins on a framework, but they often use MDF or HDF for that). - 16/17/18mm: The workhorse thickness for furniture. Use 16 or 18mm for almost everything – kitchen cabinet carcasses, wardrobe frames and shelves, table tops, bed side boards, etc. They provide robust strength and hold screws well. 18mm is most common. - 25mm: Use where extra thickness is desired. For example, a desktop or worktop that should be sturdier, or a long span shelf to reduce sag, or making raised panels. Also sometimes used for doors (like a 25mm solid cabinet door) if you want heft. It can also be used in steps or other structural pieces if needed, though usually ply or blockboard are used for those.
One could also sandwich boards to make custom thickness (e.g., two 18mm to make 36mm thick panel edges for design). Plain boards allow that flexibility – you can laminate them together if needed for thicker elements.
Grades: As mentioned earlier, mostly one grade – interior moisture resistant. There isn’t typically a “plain exterior HDHMR” sold (except special ones like Action Tesa Boilo which is not exactly HDHMR but rather a different product). So, assume plain = interior grade. If you need exterior, you’d go to exterior-grade alternatives.
Best Applications for Plain HDHMR:
· Kitchen Cabinets (Carcass Frames): Buy plain boards, cut to sizes for cabinet boxes, then laminate/veneer them to desired look. The plain board’s water-resistant core is perfect for kitchens. Use 16 or 18mm for the boxes, 6mm for back panel (or even 3mm ply back if you want, but many use 6mm HDHMR for uniformity).
· Wardrobes & Shelves: Plain boards make sturdy shelves that you can finish with edge band and laminate. Wardrobe side panels, divisions, etc., from 18mm HDHMR will ensure no bending or sagging doors, and you can then laminate the outside with your chosen color/pattern.
· Bathroom vanity units: Use plain HDHMR board to construct the vanity, then either laminate with a waterproof laminate or paint it with appropriate coatings. The plain board will hold up in the moist environment (again edges sealed).
· Partitions and Paneling: If you want to create a room partition or wall panel, you can cut patterns into plain HDHMR (CNC designs) and then finish/paint it. For instance, decorative jali or screen – HDHMR is good for that after MDF, because MDF can break if design is too fine and board is thin, whereas HDHMR in same thickness is a bit stronger.
· Furniture like Bed, Desk, TV unit: Plain HDHMR can be cut and assembled into any furniture piece. Since those will be visible, you finish with veneer or laminate. The advantage over ply is you get a super smooth surface for high-gloss laminates or paint.
· Lamination & Veneering: As a plain board, it’s a great substrate for laminates and veneers. You’d typically apply laminate sheets to cut pieces using contact cement or in a press. Same for veneers (with glue and press). HDHMR’s smoothness ensures a good bond and no telegraphing of any voids (as can happen with plywood if there’s an internal gap).
Matching Laminates/Finishes:
Since “plain” implies you’ll add your finish: - Laminate (Sunmica): Most common finish. Tip: Because HDHMR is heavy, some people laminate before cutting (like apply laminate on whole sheet then cut parts so that large surfaces are already laminated). But that can wear saw blades faster. Many still cut parts, then laminate each part. Both ways possible. Use a good adhesive like Fevicol SH or similar PVA glue for flat lamination (or a hot press if in a factory setting). - Veneer: If you want a rich wood look, raw veneers can be pressed on HDHMR boards. HDHMR is arguably a better substrate for veneer than plywood, because no chance of veneer bubbling due to core void or differential movement. Make sure to balance veneered panels (veneer on both sides or laminate on one, veneer on other) to prevent any slight warp. - Paint: If painting, you’ll need to sand lightly, apply a primer (especially on edges, they soak up a bit more), then multiple coats of paint or lacquer. Many do this for creating brightly colored children’s furniture or displays. HDHMR paints similar to MDF; one advantage, its edges are a tad smoother than MDF edges because fibers are more compact – but still prime them. - Acrylic sheets or Foils: HDHMR can also accept fancy finishes like acrylic high-gloss sheets glued on, or PVC foil wrapping (some modular factories membrane-press PVC foil on HDF/MDF for door fronts – HDHMR could also be used though typically they use a specific grade of HDF for membrane). - Edge Banding: Whatever finish on the flat, edges will usually be covered with either matching laminate strips or PVC edge band tape. PVC edge bands are common – these are ironed or machine applied. HDHMR edges hold edge band glue well (just ensure edges are smooth and dust-free). If using veneer, edges can be veneered too or lipped with solid wood strip.
Buying Checklist for Plain HDHMR:
1. Choose Thickness Wisely: Determine which thicknesses you need for your project (refer to our earlier thickness guide to match use). Don’t skimp by using too thin where strength needed; conversely, you can save by using thinner where thick isn’t needed (like backs).
2. Check Brand/Quality: If possible, go for a branded HDHMR (Action Tesa, Green, Century, etc.). It ensures spec adherence. If a local supplier has generic, just verify it’s indeed HDHMR (ask density or weight – a quick clue: pick up a piece, if it feels heavy relative to size and has very fine texture, likely correct; if it’s lighter and you see bigger wood bits, it might be some sort of HMR particle board which is inferior).
3. Surface and Flatness: Inspect the boards – they should be flat, not bowed. The faces should be smooth, free of big bumps or patches. Sometimes one side might be a little smoother (that can be your outside face). Minor factory scuffs or oxidation (slight color difference) on surface aren’t an issue if you’re laminating over.
4. Edges: Good HDHMR boards have clean, hard edges (they might be rough from saw cut but you shouldn’t see delamination or crumbling). If edges look crumbly, it might indicate a lower density product or bad handling.
5. Size and Quantity: They come in 8x4 mostly. Have cutting plans ready to optimize usage. Some suppliers might cut to size for you – if you lack tools, ask if they provide cutting service (some will CNC cut pieces to your dimensions for a fee – helpful for DIY folks).
6. Transport & Handling: These boards are heavy – ensure you have proper transport. Store them flat supported on even ground. Don’t stand large boards on edge for long as it can create slight bow (and it’s safety hazard if they tip).
7. Price Negotiation: For plain boards, sometimes dealers have more margin than on pre-lam ones (since plain ones are core product). If buying multiple, you can ask for some discount or free delivery etc. Also check if the price quoted includes GST.
8. Moisture Content: Rarely an issue, but ensure boards aren’t stored in a very damp place at supplier. HDHMR doesn’t readily soak ambient moisture like plywood can, but still, dry storage is ideal. If a board feels moist or has swollen edges at store (uncommon), ask for a fresh one.
9. Authenticity: If you specifically want “Action Tesa” or “Century”, check the branding stamp or text on board. Many boards have printed text on the side or back. It might say brand, type, ISI standard, etc. That helps ensure you got the brand you paid for.
After purchasing and during use: - Use appropriate blades and bits. If cutting with a table saw or circular saw, a blade with 60-80 teeth (for a 8-10 inch blade) is good for a clean cut. - Support while cutting to avoid chipping at the exit – or use scoring if available. - Plan your laminate selection and have them ready; after cutting boards, it’s good to laminate relatively soon so that pieces don’t absorb any moisture or get damaged on site. If not laminating immediately, at least seal edges of pieces that might sit around (even masking tape can temporarily cover an edge). - While assembling, pilot drill for screws and consider using confirmat screws for 90° joints (they hold great in HDHMR/MDF). - Safety: The dust from plain boards cutting is fine – wear a mask and goggles, and do it in ventilated area or attach a vacuum to tools if possible.
Internal Links to Note: (For more info on HDHMR properties, refer back to HDHMR 101. If comparing cost, see HDHMR Price page. For how HDHMR stacks against other materials, see HDHMR vs Plywood vs MDF. And if you need a broader intro to engineered boards like particle board vs others, check that section.)
FAQs on Plain HDHMR:
- Q1. I see pre-laminated HDHMR boards in some catalog – should I buy those or plain?
A: It depends on your project. Pre-laminated HDHMR boards come with factory applied decorative laminate on one or both sides. They can save time for simple projects – e.g., if you want all-white cabinets inside and out, you could get prelam white boards and just cut them, edge-band and assemble. That avoids separately laminating. However, prelam boards limit you to the colors/patterns the factory offers and sometimes only one side is laminated (the other might be balancing laminate or so). If you want a particular laminate design or a premium veneer finish, you should get plain boards and do that finishing yourself. Also, carpenters often prefer plain because they can cut everything and then laminate, which sometimes yields better edge finish (since edges get covered after lamina). With prelam, when you cut, the cut edges are raw and you edge band – that’s fine but if your saw causes any small chipping in laminate, that could show (unless you have a panel saw with scoring). So, prelam is great for modular factory production with precise machines, or for simple shelves etc. For customized work with varied finishes, plain is usually the way to go. Additionally, plain boards may be a bit cheaper than prelam plus separate laminate combined cost, giving you flexibility to choose different laminates for different surfaces.
- Q2. Do plain HDHMR boards require any special adhesive or method for laminating?
A: No special adhesive beyond what’s normally used. PVC synthetic resin adhesives (white glue) like Fevicol SH are commonly used for pressing laminate onto HDHMR – they work well, just like on ply or MDF. Contact cement (the solvent type like Fevibond) can also be used, but that’s more old-school for on-site manual lamination; it sticks instantly but you have to align perfectly. Many carpenters still use it, though a press or weighted glue drying with white glue gives a more uniform bond. The key is to ensure the surface is dust-free and relatively flat (HDHMR usually is). Spread glue evenly, use dowels to position laminate, then press and cure. For veneer, a proper cold press or vacuum press or lots of clamps evenly is needed to avoid bubbles, similar to plywood veneering. One thing: HDHMR’s non-porous surface means glue might take slightly longer to set (since moisture can’t escape into board as much as with porous plywood). So give ample curing time or use a fast-setting glue if in a hurry. If painting, use a primer (like an MDF primer or even a thinned coat of paint or sanding sealer) first for best results.
- Q3. Can I use plain HDHMR for the cabinet shutters (doors) as well, or only for inside parts?
A: You can absolutely use it for shutters/doors. In fact, it’s great for that – giving a smooth, stable door. If you plan to put hinges, HDHMR holds the hinge screws well (though for heavy doors use 3-4 hinges to distribute weight, as the board is heavy). For shutters, you’ll almost always want to finish both sides (laminate/paint on both faces) for balance and aesthetics. Some may choose to use a thinner HDHMR for smaller doors to reduce weight (like 12mm for a small upper cabinet door) – that’s possible but generally 16-18mm is used for doors to avoid any flexing and to match the carcass thickness aesthetic. If you want to add design on shutters, you could carve/rout designs on plain HDHMR (like grooves or patterns) before finishing. That’s a benefit over ply (you can’t carve ply much). Many modern designs like fluted or geometric pattern wardrobe doors can be made by routing plain HDHMR then painting or laminating with thin foils.
- Q4. Is there any difference between "HDHMR board" and "HDF board" when buying plain boards?
A: The terminology can confuse. HDF (High Density Fiberboard) is a general term for boards similar to HDHMR but doesn’t always imply moisture resistance. HDHMR is essentially a type of HDF with moisture resistance. Some stores might not be familiar with the term HDHMR if it’s newish; they might call it “HDF HMR” or just “HMR board”. If you ask for HDF, ensure you specify you need moisture-resistant one for your application, as some HDF (like used for laminate flooring or door skins) might not have the moisture-resistant resin. In the context of furniture boards in India, HDHMR is usually understood now. Plain HDHMR vs plain HDF: If given a choice, get the one labeled for moisture resistance for better performance. Also, note HDF “laminate flooring planks” etc., are a different product (they’re HDF core with melamine wear layer and usually not sold as raw boards). So stick to brands and product names known for furniture making.
- Q5. How about using plain HDHMR for something like a door frame or window frame?
A: Not typical. HDHMR (and MDF/HDF) isn’t generally used for door/window frames especially if they are load-bearing or need to be screwed into walls, etc. Solid wood or WPC is used there because you need thickness and real structural integrity for frames (and they endure a lot of screw insertions for hinges, latches, etc.). HDHMR could potentially be used for interior door frames if designed thick enough, but it’s not common and not recommended especially if there’s any moisture (like an exterior door frame – no, it will not hold up like hardwood). For jamb linings or extensions, some have used HDHMR (like making a door jamb thicker by adding a strip of HDHMR as extension and painting – that can work since it’s inside and just screwed to a main frame). But for primary frame structure, stick to conventional materials.
To wrap up, plain HDHMR boards offer a lot of versatility for those who want to customize the finish. They bring the core advantages of HDHMR (strength, moisture resistance) to your project, while allowing you complete freedom in how it looks at the end. When buying them, just ensure you choose the right thickness and a good quality brand, and you’ll have an excellent base material for durable and beautiful interiors.
Disclaimer: This content is provided for general informational purposes based on industry practices and publicly available information. Product specifications, standards, prices, and availability may vary by manufacturer, region, and time. Readers should independently verify details with manufacturers, dealers, or qualified professionals before making purchase or construction decisions.